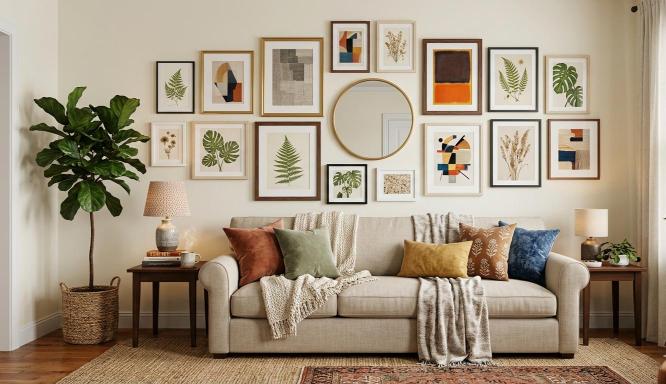
Easy DIY wall art is the cheapest, fastest way to turn a blank, builder-grade wall into the most stylish corner of your home — no gallery budget required. Because here’s the uncomfortable truth about decorating: art is usually the first thing that makes a room feel “finished,” and it’s also the first thing people skip because store-bought prints are shockingly expensive.
A single oversized canvas can cost $200+. A full gallery wall from a retailer? Easily $500. Meanwhile, the most photographed walls on Pinterest and Instagram are often made from thrifted frames, $4 sample paint pots, and free printable downloads.
In this guide, you’ll get 10 genuinely easy easy DIY wall art ideas (most under $30), the designer rules for sizing and hanging, layout formulas that never fail, and renter-friendly tricks that won’t cost you a deposit. Let’s fill those walls.
Why Easy DIY Wall Art Beats Expensive Store-Bought Prints
Before the ideas, a little motivation — because DIY isn’t a compromise, it’s an upgrade:
- Size freedom. Oversized art is what makes rooms feel designed, and DIY is the only affordable way to get it.
- Uniqueness. Nobody else on earth will have your exact wall.
- Personal story. Pressed flowers from a trip, your own photos, your color palette — DIY walls mean something.
- Rental safety. Many DIY options lean, hang with strips, or swap out damage-free.
- The thrill. A $12 wall you made yourself beats a $200 wall you simply bought.
Before You Start: The 3 Rules of Wall Art That Looks Designer
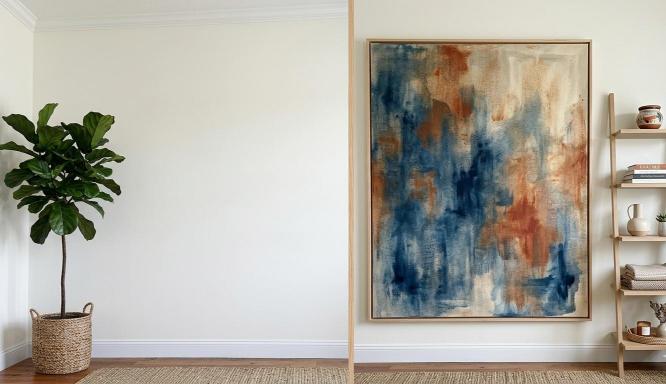
Most DIY walls fail not because the art is cheap, but because the rules are ignored. Memorize these three:
Rule 1: Go bigger than feels comfortable. Art should cover roughly two-thirds the width of the furniture below it (sofa, console, bed). When in doubt, size up — a single large piece always looks more expensive than five tiny ones.
Rule 2: Hang at eye level. The center of your art (or gallery) should sit about 57–60 inches from the floor, or 6–8 inches above furniture. Too-high art is the #1 amateur tell.
Rule 3: Keep a cohesive palette. Limit your wall to 2–3 colors and one or two frame finishes (e.g., all light wood, or black + brass). Cohesion is what makes mixed DIY pieces read as a curated collection.
10 Easy DIY Wall Art Ideas (Most Under $30)
1. Printable Art in Thrifted Frames
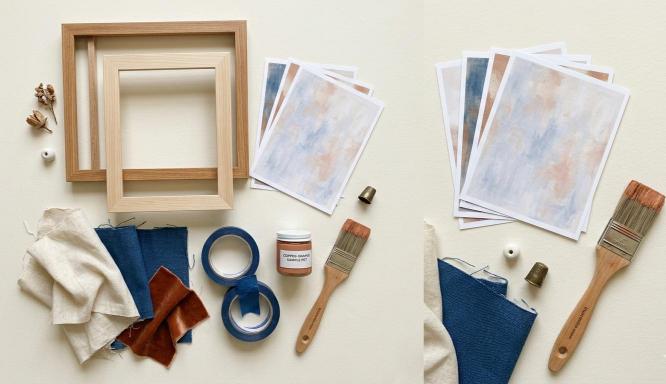
Download free public-domain art (museums like The Met offer thousands of open-access images), print at a local shop, and pop them into secondhand frames. Cost: $5–15 per piece. Difficulty: ★☆☆
2. Sample-Pot Abstract Canvas
Buy a giant canvas and two or three paint sample pots in your palette. Swipe broad arches or color blocks with a sponge — imperfect strokes are the aesthetic. Cost: $15–25. Difficulty: ★★☆
3. Textured Arch Art
Spread joint compound through a curved template (or freehand an arch) on a canvas, let dry, paint in a warm neutral. This trendy “plaster art” looks like a $300 boutique piece. Cost: ~$15. Difficulty: ★★☆
4. Pressed Botanicals in Floating Frames
Press leaves or flowers from a walk or bouquet between glass in a double-sided floating frame. Delicate, personal, and nearly free. Difficulty: ★☆☆
5. Fabric & Wallpaper Scrap Panels
Stretch beautiful fabric or leftover wallpaper over a canvas frame, or simply frame it behind glass. Designer wallpaper samples make instant luxury art. Cost: $5–20. Difficulty: ★☆☆
6. The Uniform Photo Gallery
Print 6–9 personal photos in black-and-white, put them in identical frames with wide white mats. Uniformity makes any photos look gallery-grade. Cost: $30–60 total. Difficulty: ★☆☆
7. Torn-Paper Collage Art
Tear (don’t cut) edges of colored paper or old book pages, layer 2–3 tones on a canvas, and frame. Zero skill, very “modern gallery.” Cost: under $10. Difficulty: ★☆☆
8. Framed Vintage Scarf or Bandana
A silk scarf or printed bandana stretched in a frame becomes instant color and pattern — a designer favorite trick. Thrift shops sell scarves for $2–5. Difficulty: ★☆☆
9. Painter’s-Tape Geometric Canvas
Apply tape in stripes, triangles, or arches; paint the open areas; peel while slightly wet. Crisp, graphic, foolproof. Cost: under $15. Difficulty: ★★☆
10. The Lean-and-Layer Shelf
Skip hanging entirely: install one or two floating shelves and lean frames, a small mirror, and one tiny object. Effortless, swappable, renter-safe — and the same odd-number styling rules from our coffee table styling tips apply here.
How to Hang It All: Layouts That Never Fail
The Solo Statement: one oversized piece centered 6–8 inches above the sofa. Instant focal point.
The Clean Grid: identical frames, even 2–3 inch spacing, perfectly level. Calm and modern.
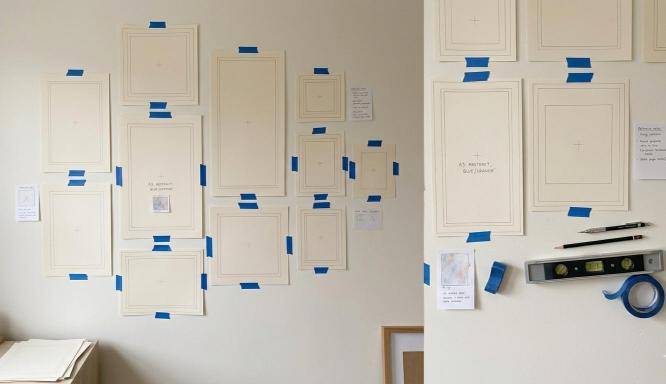
The Salon Cluster: mixed sizes arranged organically around an invisible center line. Pro trick: lay the arrangement on the floor first, then trace frames onto paper and tape the templates to the wall before drilling.
The Lean: large pieces resting on consoles or shelves — zero holes, maximum editorial energy.
Spacing rules: 2–3 inches between frames in grids; slightly more (3–4 inches) in salon layouts so pieces breathe.
Renter-friendly hanging: heavy-duty adhesive strips for medium frames, picture ledges instead of nails, and leaning for everything large. In truly tiny rooms, vertical gallery runs also draw the eye upward — one of our favorite small space decorating hacks.
Budget Shopping List & Where to Source Cheap
- Frames: thrift stores (paint them one color for cohesion — see our thrift store shopping hacks), dollar stores, marketplace apps.
- Art sources: free museum open-access archives, your own photos, free printable libraries.
- Paint: sample pots and leftover wall paint.
- Texture: hardware-store joint compound + a $3 plastic spreader.
- Fabric: remnant bins, vintage scarves, wallpaper sample books.
- Hanging: adhesive strips, sawtooth hangers, floating shelf kits.
Total for a full feature wall: typically $40–90 — the price of one retail print.
DIY Wall Art Mistakes to Avoid
- Postage-stamp art on big walls. Tiny pieces float awkwardly; measure and size up.
- Hanging too high. Art should relate to furniture and eye level, not the ceiling.
- Rainbow frame chaos. Unify with one or two finishes — or spray-paint mismatched thrift frames.
- Zero spacing plan. Crowded frames fight; use the paper-template trick.
- Wrong hardware. Heavy glass needs real anchors; light frames are what adhesive strips are for.
Easy DIY Wall Art FAQs
How much should DIY wall art cost? Most ideas here run $5–30 per piece. A complete feature wall usually lands between $40–90 — versus $300+ retail.
Can I do wall art in a rental? Absolutely. Lean large pieces, use picture ledges and adhesive strips, and choose lightweight frames. Your deposit stays safe.
What if I can’t draw or paint at all? Stick to the no-skill winners: printables, framed fabric, pressed botanicals, torn-paper collage, and photo grids. Taste matters more than technique.
Final Thoughts
Blank walls aren’t waiting for money — they’re waiting for intention. With thrifted frames, sample pots, free printables, and three simple designer rules, easy DIY wall art turns any room from “moved in” to “designed” for less than the cost of dinner out.


No comment